How to Fix a Leaky Gutter Fast: 7 Simple Repair Steps

A leaky gutter usually starts as a small drip. Then it gets worse after heavy rain. In many U.S. homes, especially older ones, it often begins at a seam or joint. From there, water slowly escapes and spreads along the gutter. Knowing how to fix a leaky gutter early can prevent bigger damage to walls and foundations.
Often, it depends on the cause. A small seal issue is simple. A slope problem or poor installation is not. That difference matters a lot.
Across the U.S., gutters go through tough weather: freeze and thaw cycles, heavy rain, and long dry spells. Over time, this leads to weak spots. A gutter leaking at the seam is one of the most common results.
For bigger or repeated issues, many roofing teams work with partners like National Gutter Alliance (NGA). We handle gutter and gutter guard installations across the U.S. with trained crews.
What Type of Gutter Leak Are You Dealing With?
Before any repair starts, it helps to slow down and actually watch the water path. Most gutter problems fall into patterns, not random damage.
A seam leak behaves differently from a corner leak. Overflow looks different from a pinhole drip. And a weak bracket often hides behind what looks like a sealing issue.
Here are the most common leak types seen in U.S. homes:
Seam separation where two gutter sections meet
Corner joint leaks near the roof turns
Downspout connection leaks
Overflow leaks caused by slope or blockage
Small rust pinholes in metal gutters
A lot of DIY repairs fail because the wrong problem gets fixed. The leak is treated as a surface issue when the real cause is structural.
How to Fix a Leaky Gutter Quickly: 7 Proven Steps
Knowing how to fix a leaky gutter in a structured way helps avoid repeated repairs and wasted sealant. That is why a step-by-step approach works better than random patching.
Step 1: Watch the Water, Don’t Guess
The fastest way to start is simple. Run water through the gutter using a hose. Not full pressure. Just steady flow.
Then step back and watch closely. The first drip usually tells the truth.
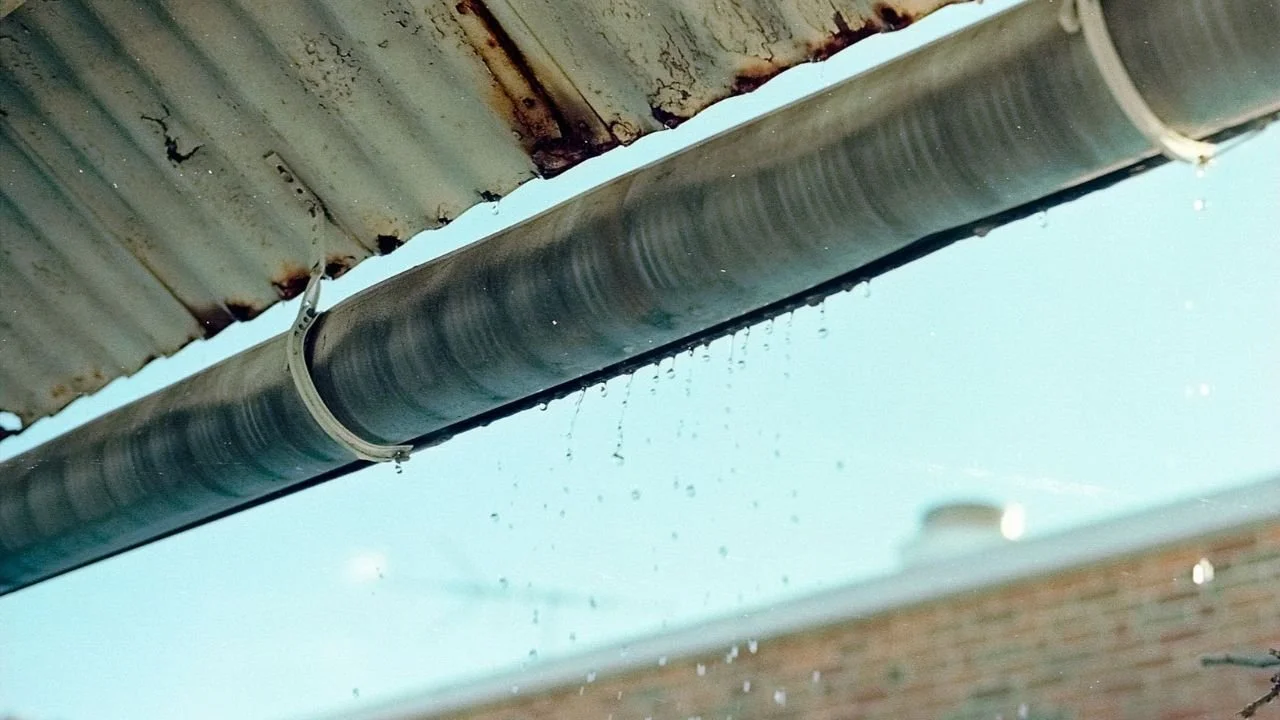
In older homes, the leak often appears at a seam first. That is the weak point where expansion and contraction slowly break the sealant over time. This is the classic gutter leaking at the seam situation many homeowners deal with after a few seasons.
Mark the exact spot once it shows. Guesswork wastes time and sealant.
Step 2: Clear Out What Is Hiding the Problem
Gutters rarely leak in isolation. Leaves, grit, and roof debris usually sit on top of the real issue.
Clean the area fully before doing anything else. If water cannot move freely, even a good repair will not last.
A quick field routine:
Remove leaves and sludge buildup
Flush out standing dirt with water
Check downspouts for hidden blockages
Let the area dry before repair work
This step feels basic, but it changes everything. Many repeat leaks start because cleaning was rushed or skipped.
Step 3: Tighten Movement Points Before Sealing Anything
One thing contractors notice quickly on job sites is this: most leaks are not just seal failures, they are movement failures.
Loose screws or brackets shift the gutter slightly every time water flows through it. Over time, that movement opens small gaps.
Tighten every nearby fastener before sealing. If a screw hole is stripped or worn out, it may need reinforcement instead of force tightening.
This step often stops “mystery leaks” that keep coming back after repairs.
Step 4: Seal the Real Leak, Not the Surface
Once the structure is stable, sealing becomes effective.
Use a waterproof gutter sealant designed for exterior temperature changes. Apply it directly into the seam or crack where water escapes. Work it in, don’t just lay it on top.
In real field conditions, small seam leaks are often repaired this way and hold for years when done correctly. This is especially true for minor gutter leaking at seam issues where the metal itself is still in good condition.
A few practical points:
Apply only on dry surfaces
Cover both sides of a seam if accessible
Smooth edges to avoid water lift
Let it cure fully before testing
Rushing this step is where most DIY repairs fail.
Step 5: Handle Rust Spots and Small Holes Carefully
Metal gutters sometimes develop pinholes that look harmless until rain hits them. These are not sealing problems alone. They are material wear points.
Small rust holes can often be patched, but only if the surrounding metal is still strong. If corrosion spreads, patching becomes temporary at best.
A quick reality check many installers use:If you can press the metal and it bends easily, replacement may be closer than repair.
Step 6: Check Flow, Not Just the Leak
A gutter can be sealed perfectly and still fail if water is not moving correctly.
Slope issues are one of the most overlooked problems in U.S. homes. If water pools anywhere along the line, pressure builds up and finds weak points again.
After repairs, test the flow again:
Water should move steadily toward the downspout
No standing pools should remain
No reverse flow or slow drains should appear
If pooling shows up, the problem is no longer just a leak. It is system alignment.
Step 7: Know When Repair Stops Being Enough
This is the part most homeowners hesitate on.
If leaks keep returning in different spots, the system is likely failing as a whole. Not just one seam, but the installation itself.
That is where professional support becomes practical instead of optional.
In larger residential and commercial projects across the U.S., teams like National Gutter Alliance (NGA) support consistent gutter and gutter guard installation work at scale. Our model focuses on subcontracting skilled crews who integrate with roofing and construction workflows, helping maintain installation consistency across multiple properties and regions.
In simple terms, it is not just about fixing a leak anymore. It becomes about stabilizing the entire system so it does not keep repeating the same failure cycle every season.
That difference is often what separates short-term patching from long-term performance.
When the Real Question Changes
At some point, the question stops being how to fix a leaky gutter and becomes something else entirely: Why does it keep happening in the first place?
Because once gutters start failing repeatedly, the issue is rarely just at the surface. It is usually hiding in slope, structure, or installation quality that no sealant can fully correct.
That is the moment most homeowners slow down. The next storm is close. The gutters may look fine from the ground. But there is always that small doubt. Is it truly fixed this time, or just holding until the next weak point opens up?
When it feels that way, we at NGA are just a call away!